LAUNCH
Weather Forecast
The forecast as of the day of the launch showed good weather at the launch site (zip code 12144). The picture below shows the forecast from the weather underground website (Saturday being 23FEB, launch day):

Weather Experienced
The actual weather experienced at the launch site was nearly perfect. Although a bit chilly at 2 deg C (37 deg F), there was almost no wind except for the occasional breeze. (There was a snow storm expected to move into the area in the evening, but this proved to be milder than expected, and came well after dinner.) The only worry came during the drive to the launch site that morning: some high points in the Berkshires in western MA showed heavy fog and rain, but this cleared away when the border was reached.
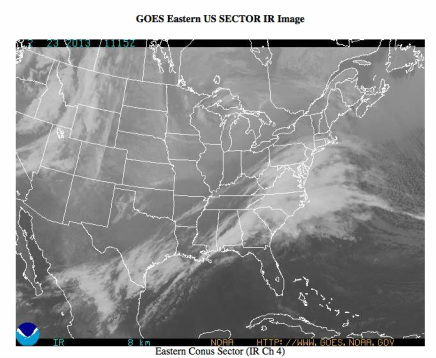
The pictures below show data from the good 'ole NWS, satellite views of the reflected infrared light in two bands, which shows cloud cover and water vapor in the air. (Read here on what it means and how it's done.) These images show solid cloud cover over New England. (Sure enough, the balloon quickly rose into the clouds and was lost to sight within a minute of launch.)
The pictures below show data from the good 'ole NWS, satellite views of the reflected infrared light in two bands, which shows cloud cover and water vapor in the air. (Read here on what it means and how it's done.) These images show solid cloud cover over New England. (Sure enough, the balloon quickly rose into the clouds and was lost to sight within a minute of launch.)
|

|
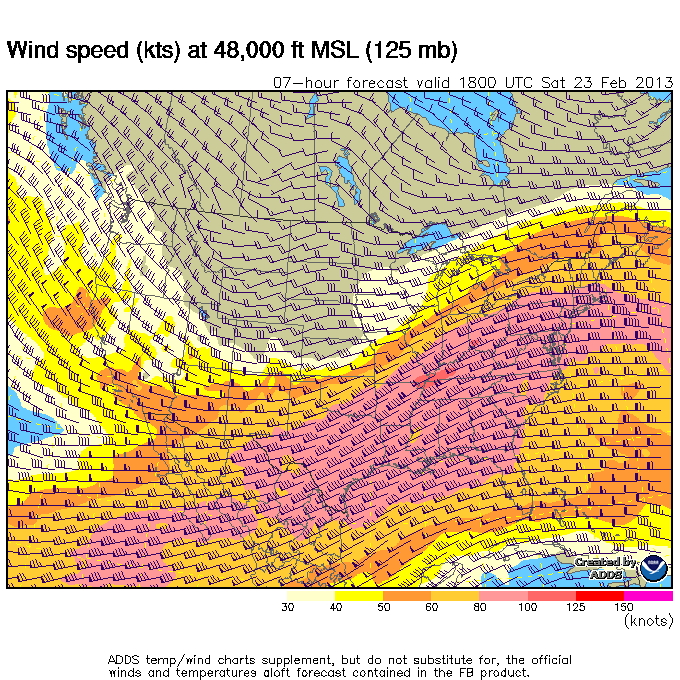
Winds At Altitude
Again, the NWS (their Aviation Weather Center) has the answers here. The forecast winds at 48,000 ft, the highest altitude where they provide estimates, showed a 'healthy' breeze of 85 knots (85 nautical miles per hour or 41 m/sec) from west to east! (The little wind arrow or barb indicates wind speed and direction, as illustrated here.) Higher up was anybody's guess, but we would find out.
Departing from Base
Saturday morning proved a good day for travel - traffic on the turnpike was light, and weather fair. It's surprising how much stuff one ends up bringing along, trying to anticipate every situation. The 5 ft tall, 150 lb Helium tank didn't help matters either!

|

|
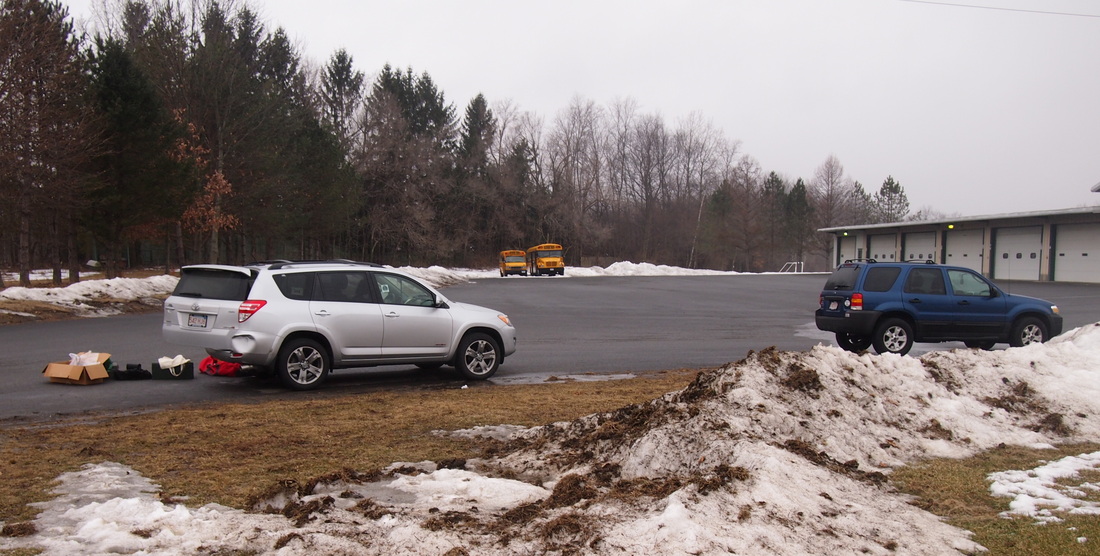
Launch Site
A public high school with ample athletic fields was selected as the launch site. Ample open space was important, given the possibility of ground winds.
Ample? Assuming an ascent rate of 5.5 m/sec (18 ft/sec), and a crosswind component of 4.5 m/sec (10 mph) ... assuming the nearest obstruction would be an eastern white pine between 24 to 30 m (80 to 100 feet) high ... adding in a healthy 3x safety factor ... we would need 242 m (794 feet) of horizontal distance in order to rise high enough to clear the tree. That's two soccer fields long. Of course, that's with a 3x safety factor, so one soccer field should be good 'nuff.
A 217 km (135 mile) drive from HQ to launch site was accomplished, with time for rest stops. As the school district had a holiday that week, the fields were deserted. Some pictures of the launch site:
|

|
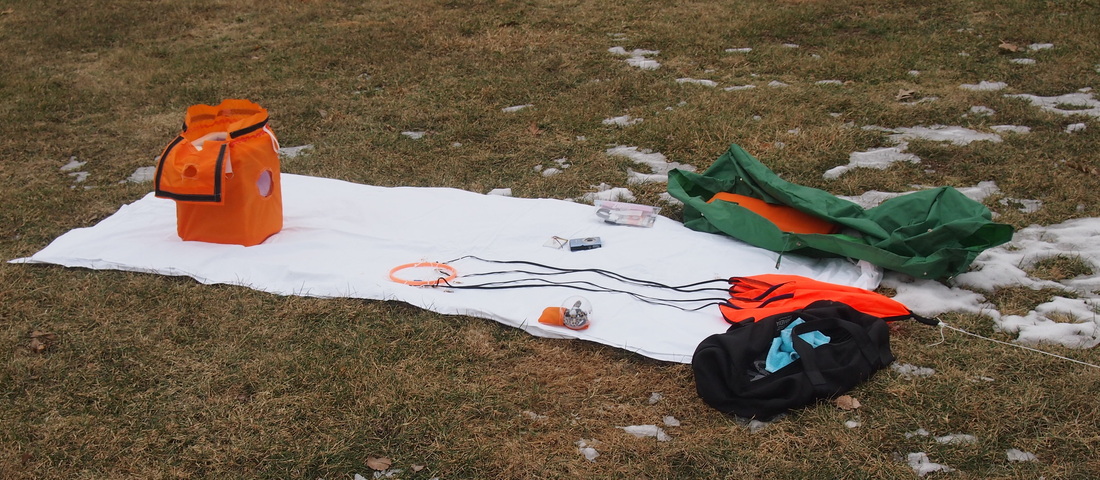
Launch Process - Setup
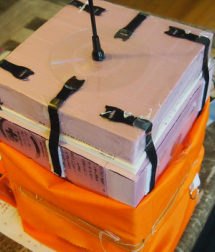
Since there was little snow on the ground, and the weather was good, setup was quick. One waterproof tarp and bedsheet formed a pad for balloon inflation. A second pad about 30 feet away (the length of the line connecting balloon to parachute) held the spacecraft, parachute, and rigging. Bringing along a good furniture-moving dolly made moving the helium tank easier, and also orients it for easy work. Removal of the Kaymont balloon is the last step in the process, after ensuring everything is secured and the team is ready for inflation.

|
|
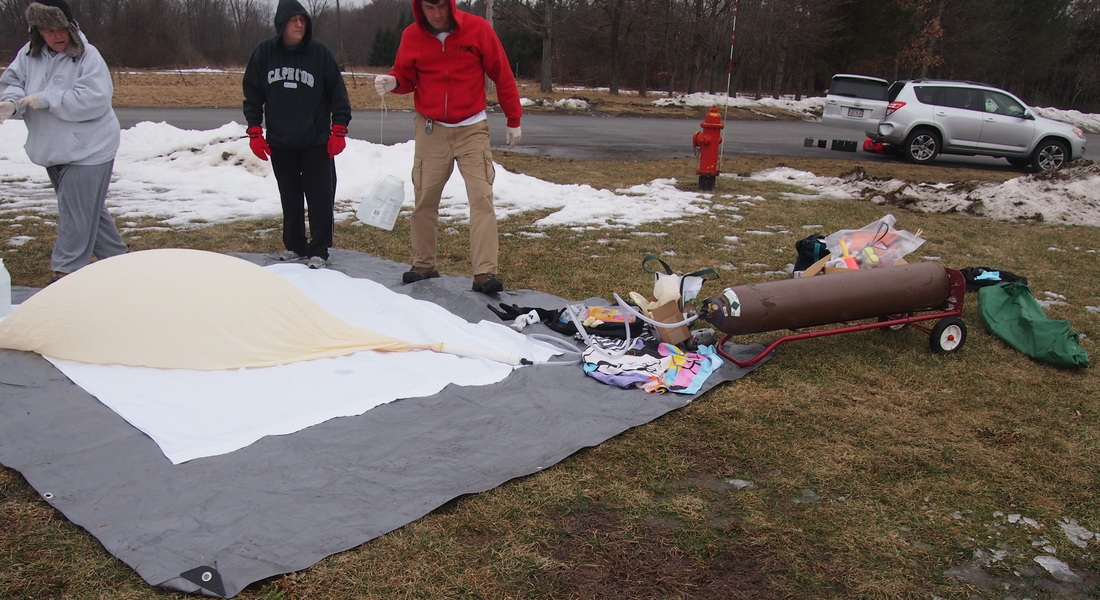
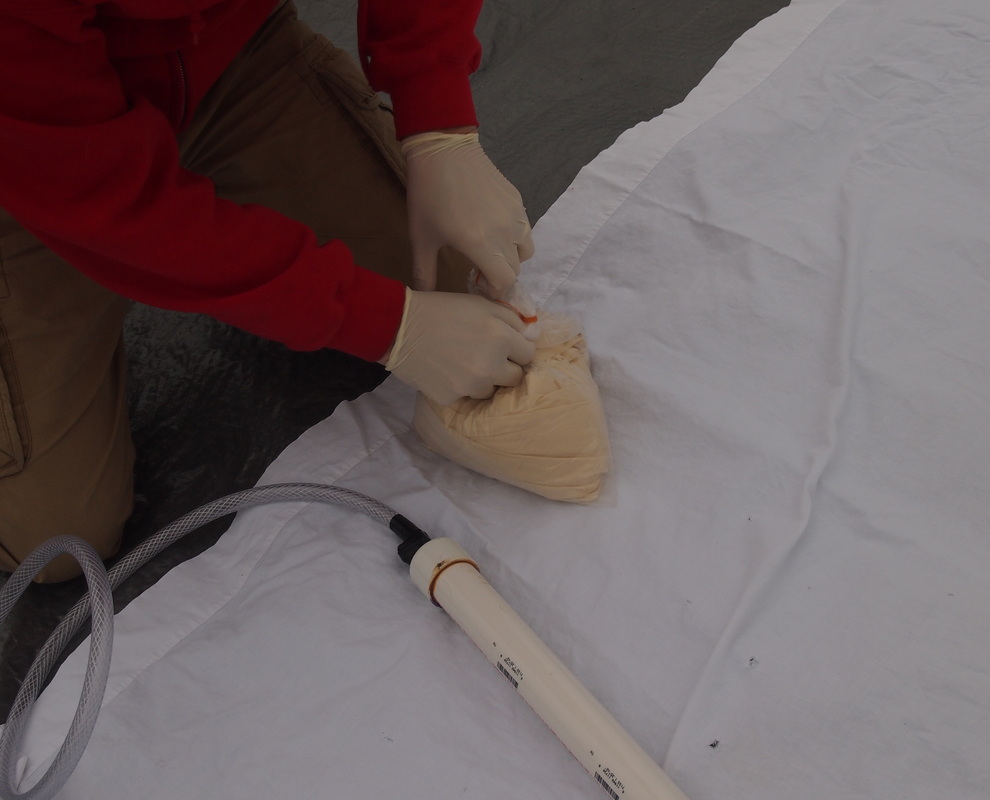
Launch Process - Inflation
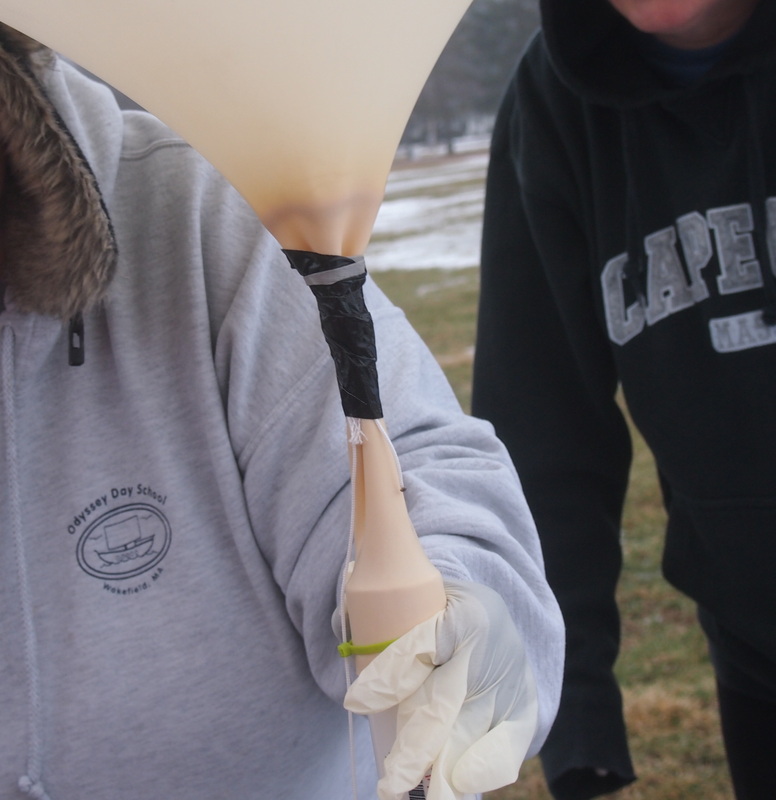
Many other groups advise using latex medical gloves when handling the balloon, to reduce transfer of oils to the balloon surface that might cause it to burst prematurely, so we went along with the flow. (The gloves served a practical purpose as well: they kept the hands warm on a cold day while still giving us fine control over the work.) While the balloon does not initially seem to be a problem to handle, it will eventually expand to be taller than an adult-sized person, and pulling against you with 4+ lbs of force: coupled with any winds, you'll be doing a lot of handling and holding to keep it from hitting the ground or other objects.

|

|
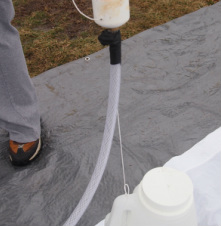
The balloon neck was placed over, with great effort, the shaped and smoothed PVC pipe that was the business end of the inflation rig (see construction section for details). It was held down with a cable tie-wrap, and then held by a team-member. The balloon neck was specified as a 3 cm diameter, while the outer diameter of the PVC pipe was just over 5 cm (this is labeled as 1-1/4 inch [inner diameter] PVC at the hardware store), and this made for a very secure attachment; that and the cable tie ensured it did not budge. The other end of the PVC inflation pipe was attached via Dacron line and tie-wrap to the plastic jug filled with an exact amount of water, that would make the jug equal the desired 'neck' lift weight (minus the weight of the inflation pipe and hose).

|

|
Inflation was easier than expected. The helium tank valve was very carefully opened a very small amount, and gas flowed into the balloon. The inflation rate was kept as low as possible until the balloon was partially inflated, then gradually increased. Even so, inflation took about 30 min. A visual estimate of the balloon's diameter was misleading: it was only when the attached jug started to move that we knew we were close to the desired inflation diameter.

|

|

|

|

|
|
Launch Direction

The launch director is pacing nervously at this point . . . so much could yet go wrong . . .
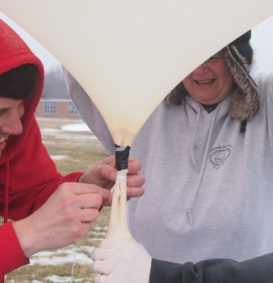
Launch Process - Assembly
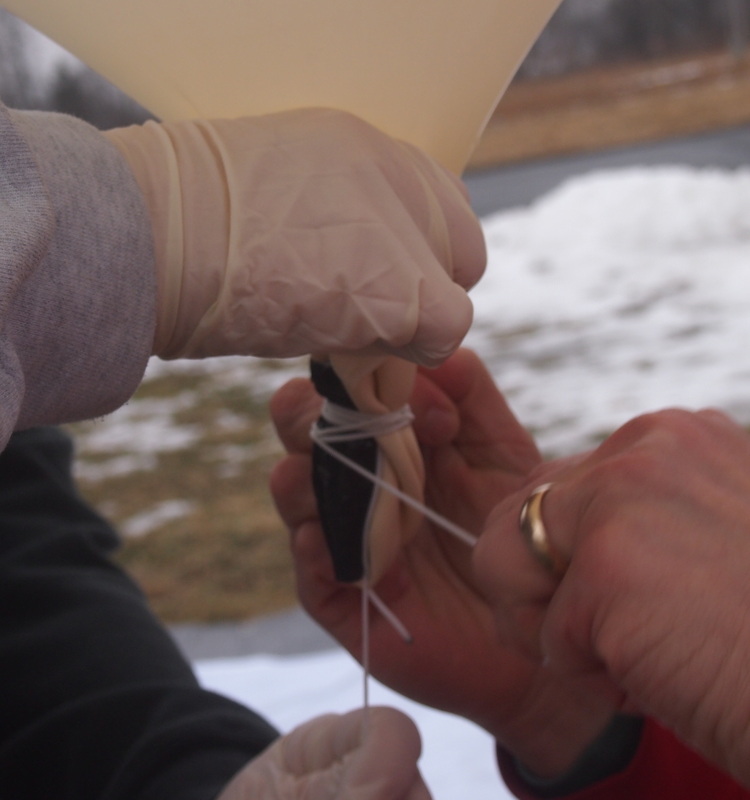
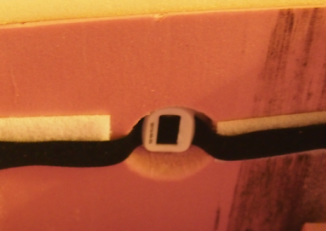
Once the desired neck lift is reached, the very next thing is to tie off the balloon neck, and tie on the line attaching the balloon to the parachute (and from there the parachute is attached to the spacecraft). Tyeing off the balloon neck above the inflation pipe was accomplished with a piece of the ultra-strong Dacron line used for the rigging (see construction section for details). Duct tape was wrapped around this tie for insurance. Next, the line to the parachute was tied to the balloon neck, just below this first tie-off above. This too had a small wrap of duct tape for insurance. (Though the line is strong and the knots good, the tape should ensure no slipping of the knots, etc.) Finally, with the line now securely attached to the balloon, the neck is removed from the PVC pipe inflation rig. The remainder of the neck is folded up, tied around the portion of the neck holding the bits above, and again duct-taped. This forms a big ugly knot that will prevent any loss of gas, and securely hold balloon to line even in heavy turbulence.

|
|

|
|
|
|
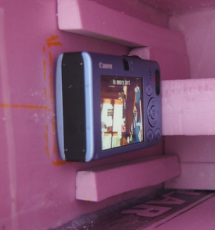
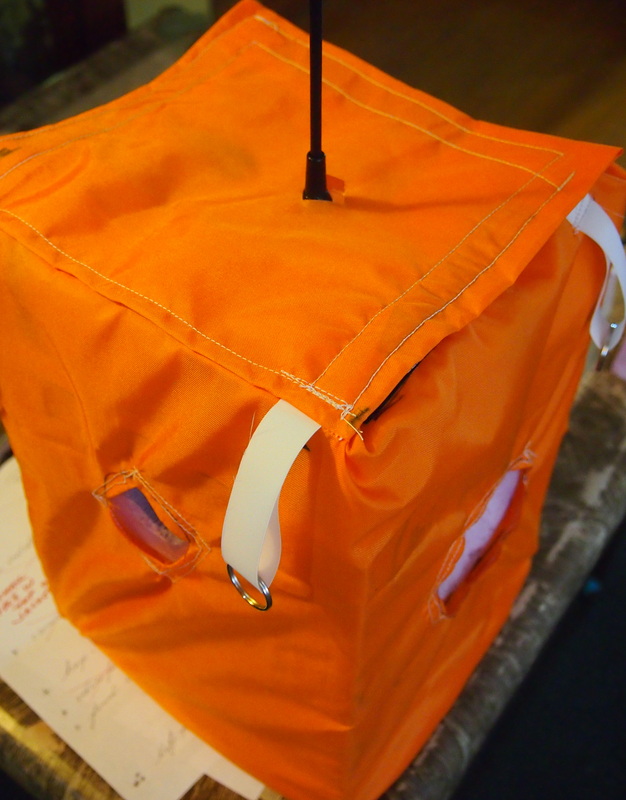
The line attached to the balloon, some 30 feet long, had previously been attached to the Rocketman chute. (A very handy feature of the Rocketman was a single loop sewn into the top of the parachute, purpose-made for attaching things like pilot chutes . . . or balloons.) (The long length line was motivated by the idea that, in descent, there is still some residue of balloon attached to the line - the knot and tape, at least, and whatever did not shred apart in space. A long length of line should allow it to dangle off to the side of the chute and below the spacecraft, such that it has little chance of getting tangled in the parachute rigging.) The parachute and rigging were already set up and ready to attach to the spacecraft jacket (see construction section for details on the spacecraft): all that remained was to power up and install the camera, power up and install the strobe lights, power up and install the radio and handset, activate and throw in the hand warmers (which are unlikely to do much good, but are light enough and cheap enough to try anyway), and seal up the spacecraft. The spacecraft lid was attached to the body via several Velcro fasteners. The upper hatch of the spacecraft jacket was then secured to the side walls of the jacket via Velcro strips. Finally, the parachute rigging was attached to the split rings in the jacket. Ready for launch!

|
|
|
|

|

|
|
|
Launch!
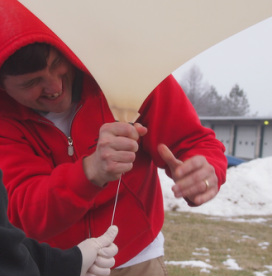
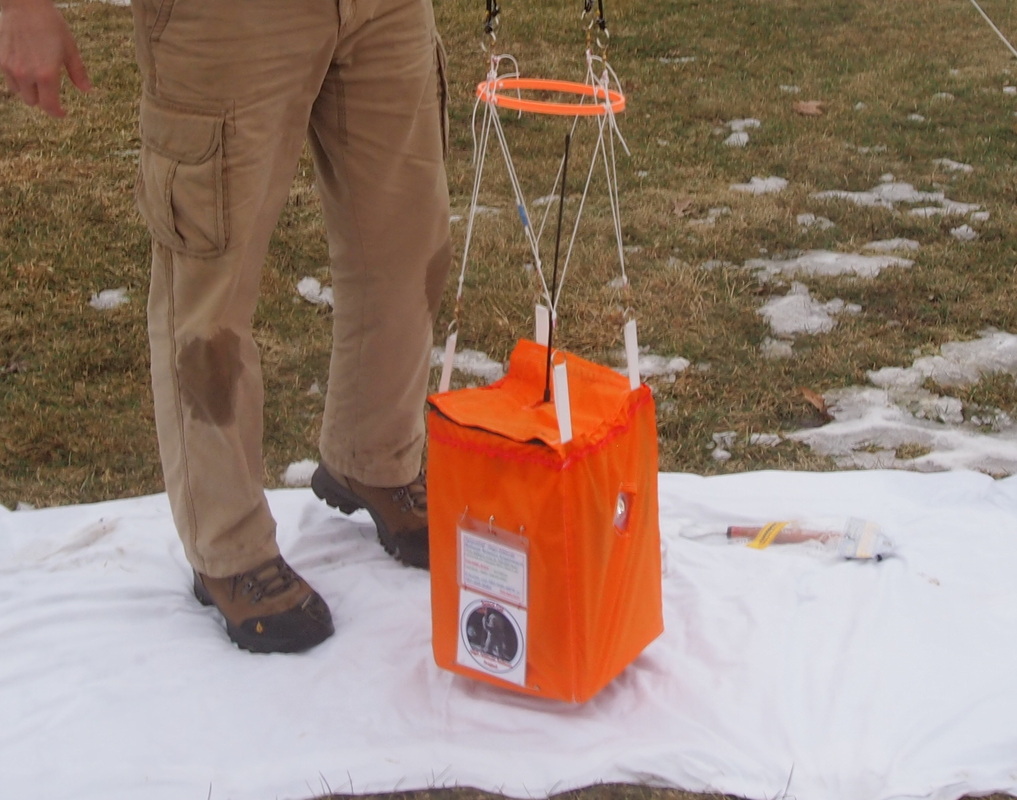
A final check was made of the radio trackers, by calling back to the tracking team to verify that (a) the APRS packets were being received, and (b) the cellular handset tracking program was reporting position. (The APRS packets may not be visible at ground level, so this requires some spot-checking during the journey to the launch site, turning on the radio on a high spot and checking for reception. Similarly, the handset should be checked enroute, though it tends to work well at ground level, unless you are in a very rural area.) The rigging is carefully checked. Then, one handler, holding the balloon line, walks the line backwards from the balloon towards the spacecraft, allowing the balloon to rise vertically. (Gloves are needed - the line can sting the hands as it is let out.) When the balloon handler reaches the spacecraft handler, the spacecraft is let go - at this point, the balloon should jerk the spacecraft vertically upward with very little horizontal dragging.

|

|
The balloon rose surprisingly quickly, perhaps being the first launch and not being visually used to the ascent rate. In less than 30 seconds, it disappeared into the cloud deck, which was quite low and uniform. From there, nothing to do but quickly pack up and head east, behind the balloon. The launch team arrived at the launch site at approximately 12:35PM; launch occurred at approximately 1:38PM.
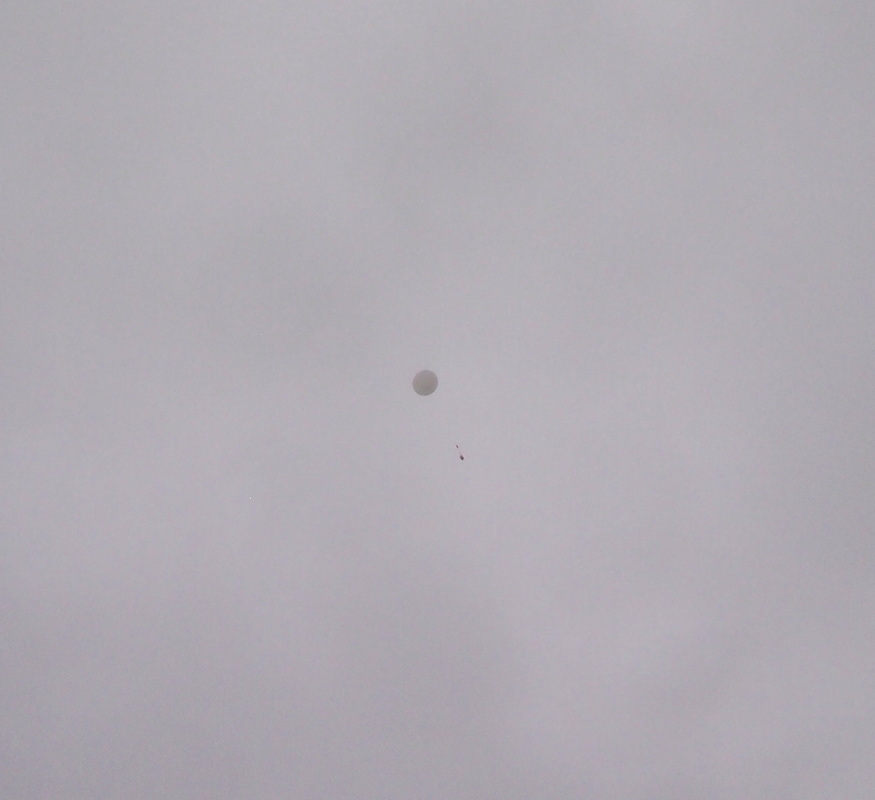
The ascending balloon, seconds before being lost in the cloud deck.
Return to Base
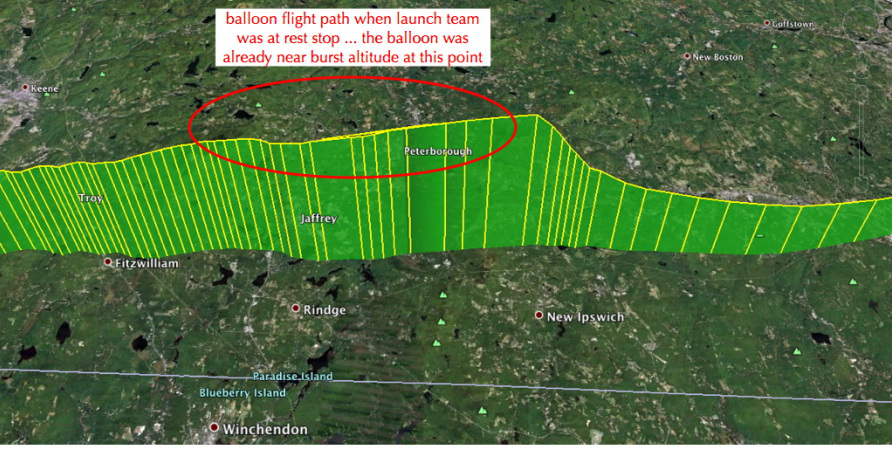
The launch team headed back to SpaceCat HQ, but made a stop in MA, at the Lee rest stop on the MA turnpike (I-90 eastbound), at approximately 2:30PM. This was a good chance to check in with the tracking team, and log in to the radio tracking websites (aprs.fi for the APRS tracker, and accutracking.com for the cellular handset tracker) with a handy laptop and the free rest stop WiFi service. By this time, the balloon had almost reached burst altitude. When the team left at 2:58PM, within minutes the tracking team reported that the balloon was falling . . . fast. The story continues with the tracking/chase team (see other section).
Launch/Mission Announcement
An excellent website used by amateur radio enthusiasts experimenting with high-altitude ballooning is the ARHAB (Amateur Radio High-Altitude Balloon) website. We posted a mission announcement the week prior to the launch: using the APRS data that the radio tracker broadcast, the web-host updated the announcement to show it was a success, and to post derived flight data. Here's a photo the of mission announcement posted on the website, after completion of the flight:

